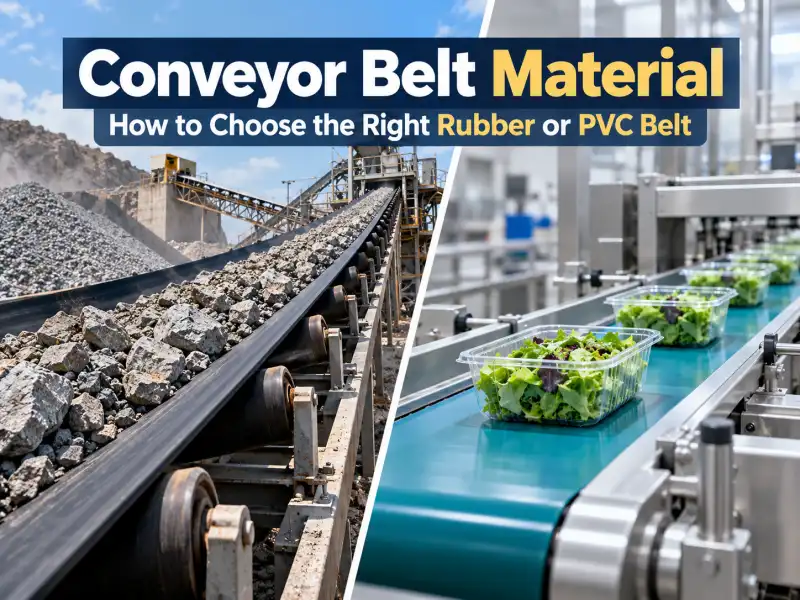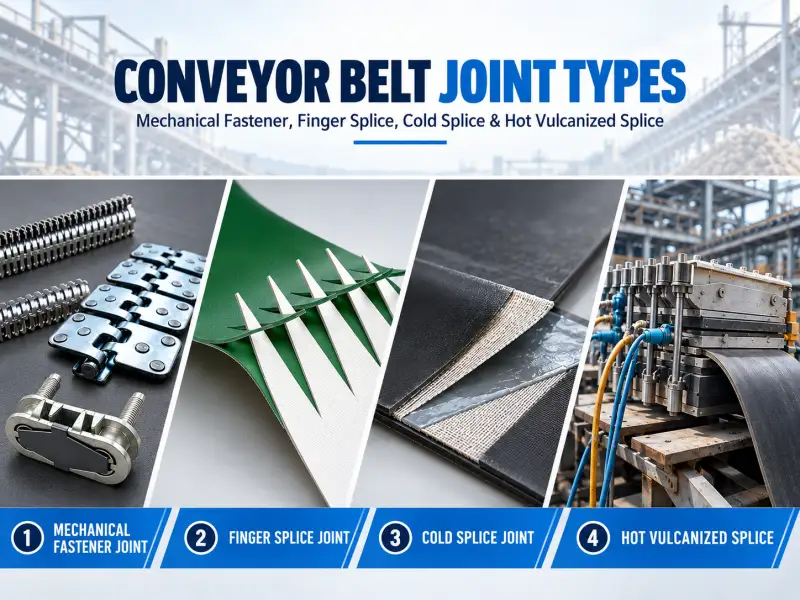

A conveyor belt rarely fails because it was the cheapest one available. What decides how long it lasts is whether you inspect it on a fixed rhythm, whether you can separate a belt problem from an equipment problem, and whether replacement and spares are planned before something breaks.
This conveyor belt maintenance guide stays on the belt itself: top cover, bottom cover, edge rubber, carcass and splices. Idlers, pulleys, belt cleaners and the loading point are fixed points on the equipment that act on the belt, covered separately in section 5, and they are not wear zones on the belt.
By the end you should be able to run a four-level inspection routine, trace the six most common belt problems in a fixed order, and judge whether a belt should be repaired or replaced.
1. What You Are Actually Maintaining: The Five Wear Zones on the Belt Itself
Top cover is the surface that carries the material, and it takes most of the abrasion. Bottom cover faces the pulleys and idlers; material does not wear it, but build-up, running contact and a seized idler still damage it. Edge rubber, and the wear band that develops along the width, come next. A splice is the fourth zone, and a splice is a permanent joint: it is opened only when the splice itself is damaged. The carcass (EP/NN fabric or steel cord) is the fifth, and it is not a routine inspection item. It sits behind the cover rubber, so it becomes visible only after the cover has failed badly. Once you can see carcass, especially in a wear area, the belt should be replaced rather than repaired.
The areas you are least likely to look at are the bottom cover, the return run and the inner side of the frame – the ones that reach a threshold unseen.
| Checked on a normal routine | Signals that the belt is near end of life |
|---|---|
| Top cover thickness at fixed positions, compared with your last record | Carcass visible through worn top cover – replace, do not repair |
| Edge rubber condition, and the wear band across the width | Edge rubber worn down to the fabric or cord |
| Splice condition: fastener wear, cover lifting at the splice | Fastener pulled out again, or the same splice line opening repeatedly |
| Build-up and tracking on the bottom cover | Deep grooves, cuts or heat cracking that reach the carcass |
Those five zones are the vocabulary the rest of this guide uses; the next section turns them into a routine.
2. A Four-Level Inspection Routine: Every Shift, Weekly, Monthly, Annually
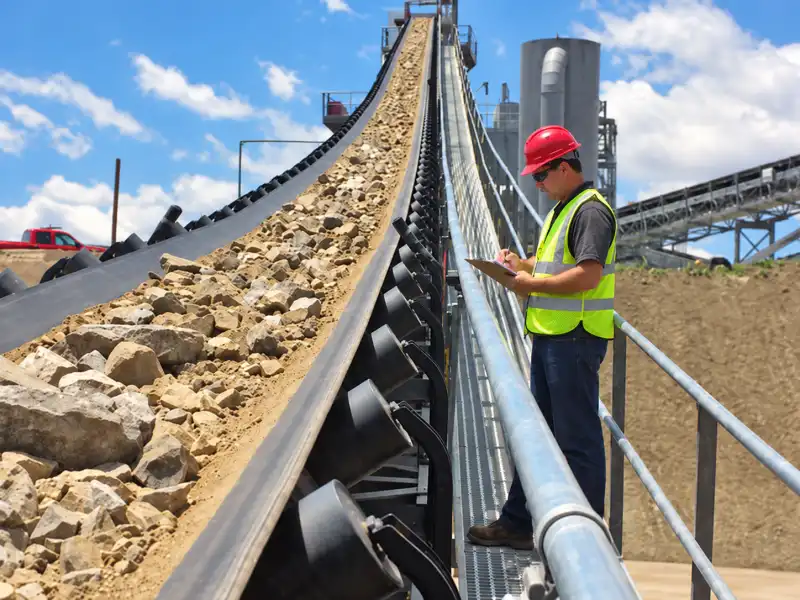
Inspection frequency is not a number you copy from another plant. It follows four things: how abrasive the material is, the belt speed and load, dust and temperature around the conveyor, and how many failures this line produced in the past year.
To get the longest life out of a belt, we recommend the routine below, then adjust it to your own conditions. Some plants go further and set a replacement cycle instead of waiting for symptoms: several of our customers in Southeast Asia plan a replacement every two years even when the belt shows no obvious problem. That trades belt cost against the risk of an unplanned stop.
Every shift, while the belt is running: mistracking, spillage, unusual noise, splice bump, smell or unusual heat, vibration.
Weekly: belt cleaner and scraper condition, whether every idler still turns, whether the take-up is running near the end of its travel, visible cover wear, lubrication points, splice appearance.
Monthly: top cover thickness measured at the same recorded positions and compared with your last measurement, edge damage, build-up on pulleys and idlers (carryback), cleaner replacement, spare parts consumption.
Annually or during a shutdown: full-width belt inspection, splice assessment, elongation and the replacement decision, plus a batch plan for pulley lagging and idlers.
| Frequency | What to check | How you know it is out of range | What to do next |
|---|---|---|---|
| Every shift (running) | Tracking, spillage, noise, splice bump, heat, vibration | Anything new, or anything that changes with load | Record it; move the item into the weekly list if it repeats |
| Weekly | Belt cleaner, idler rotation, take-up travel, lubrication, splice | An idler that has stopped turning; take-up close to its limit | Trace and replace the idler; check alignment and tension before adding more take-up |
| Monthly | Top cover thickness at the same positions, edge damage, carryback | Loss clearly faster than in previous months, at the same measuring points | Find the fixed point causing it; check the cover grade against the material |
| Annually / shutdown | Full-width belt, splices, elongation, lagging, idlers | A full-width check shows damage a daily walk-past cannot | Plan replacement and spares against the shutdown window |
On a belt in service the material path wears the centre of the top cover hardest, while the measurement is usually taken near the edge. An edge reading therefore overstates what is left, so measure at the same positions and read the trend.
This table is the basis of the conveyor belt maintenance checklist at the end of the article. Keep the electrical and gearbox work in their own maintenance plans; they sit outside the belt.

3. The Six Most Common Belt Problems and How to Trace Each One
These six are listed in the order maintenance teams report them most often. Each follows the same four steps: what you see, the likely causes, what to check first, and how to confirm the fix worked.
3.1 Mistracking
Start where the material lands, not where the belt runs off. Check whether the load is centred and whether the chute feeds to one side; then whether idlers and pulleys sit square to the belt and the frame is straight; only then look at tension. Tension is the last variable to touch, because adding tension to a mistracking belt hides the cause and loads the splice.
| Symptom | Likely causes | Check in this order | How to confirm it is fixed |
|---|---|---|---|
| Belt runs to one side; edge wear concentrates on one side | Off-centre loading, material stuck on a pulley or idler, idlers or pulleys out of square, frame distortion, uneven tension | Loading point and chute, then idler and pulley alignment, then take-up and tension | The wear band stops drifting to the same side over a full loaded cycle |
3.2 Slippage
Measure before you tighten. Check take-up travel and inspect the drive pulley lagging: worn lagging, or a pulley carrying build-up, can slip even when the belt is not slack. A momentary overload at start-up is a separate cause and does not call for more tension. Adding tension to a belt already near the end of its travel hides the real problem and loads the splice.
| Symptom | Likely causes | Check in this order | How to confirm it is fixed |
|---|---|---|---|
| Belt slows or stalls under load; drive pulley runs hot | Worn lagging, build-up on the drive pulley, start-up overload, insufficient tension | Take-up travel, lagging and pulley surface, load and start-up conditions, tension last | The belt holds speed at normal load and the pulley stops heating |
3.3 Spillage and material build-up
Spillage is not only a housekeeping issue. Build-up under a chute or on a return idler becomes an abrasion source of its own, so clear it and then remove what produces it. Check loading point alignment, skirt rubber wear, whether material flow matches belt speed, and whether the belt cleaner still works.
| Symptom | Likely causes | Check in this order | How to confirm it is fixed |
|---|---|---|---|
| Material under the belt, on the frame or on the floor | Off-centre loading, worn skirt rubber, material flow not matching belt speed, failed belt cleaner | Clear the build-up, then loading point and skirt rubber, then cleaner, then belt speed | No fresh build-up after a shift, and the skirt seals along the belt |
3.4 Damage caused by seized idlers and pulleys
Use the shape of the damage to tell the two failures apart. Wear that belongs to the belt develops as a gradual trend along the whole belt or across the whole width. Damage from a seized rotating part is local, repeats at the same interval, and is often cut across the width where the part stopped turning. Deal with the rotating part first, then judge whether the belt can stay in service.
| Symptom | Likely causes | Check in this order | How to confirm it is fixed |
|---|---|---|---|
| A repeating mark at a fixed interval, with localised heat or noise | Seized or dragging idler, seized pulley bearing, material jammed at a roller | Stop and lock out, find the rotating part, free or replace it, then assess the belt | No new mark after a full belt revolution, and normal bearing temperature |
3.5 Fast cover and edge wear
Three mechanisms cause fast wear and need different answers. Abrasion grinds the surface evenly or in a band. Impact damage crushes and cuts at the loading point. Cutting and gouging leaves sharp grooves from a skirt, a scraper or trapped material. Abrasion and impact damage are selection questions as much as maintenance questions: a higher cover grade, a wear-resistant rubber conveyor belt, thicker edge rubber or a buffering structure under the loading point changes the outcome. Confirm it with the next measurement.
| Symptom | Likely causes | Check in this order | How to confirm it is fixed |
|---|---|---|---|
| Cover or edge rubber disappears faster than the previous belt | Abrasion under a hard material, impact at the loading point, cutting by skirt or scraper | Identify the wear mechanism first, then the fixed point, then the belt specification | Wear rate measured next month is slower than this month at the same points |
3.6 Splice failure
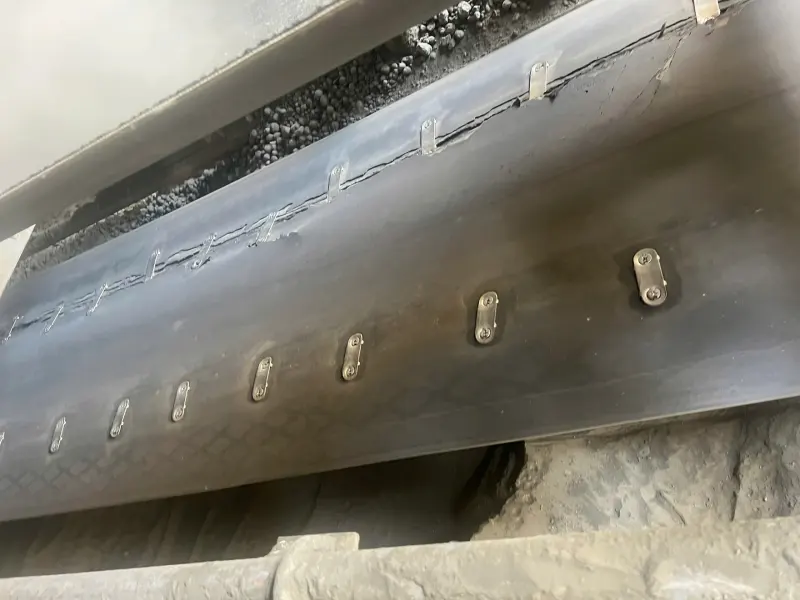
A mechanical fastener pulls out; a vulcanized splice delaminates along the joint. Both fail for external reasons as often as internal ones: a pulley diameter too small for the splice, excessive tension, or a cleaner and scraper running into the splice. Repair the splice and then correct the external cause, or the same joint will fail again.
| Symptom | Likely causes | Check in this order | How to confirm it is fixed |
|---|---|---|---|
| Fastener pulling out, or splice lifting from the cover | Pulley diameter small for the splice, excessive tension, cleaner or scraper hitting the splice, damaged fastener | Pulley and cleaner at the splice, then tension, then the splice itself | No repeat damage at the same splice after one inspection cycle |

4. Before You Reach In: Safe Shutdown and Lockout for Belt Work
Lockout/tagout exists to make sure the conveyor cannot start while you are inside it, whether from a control signal or from a colleague who does not know you are working there. Follow the sequence: shut down, isolate and lock out the drive, tag it, then confirm the belt cannot move before you reach in.
When the work is finished, safety guards, emergency stops and interlock protection should be put back and checked before the belt runs again. Only authorized personnel who know the equipment should operate or repair it; this is common practice on belt systems, and it also keeps your troubleshooting conclusions reliable.
Three risks deserve their own check: stored energy in the belt itself, such as take-up travel or gravity on an incline; hot work close to rubber; and tight access around the return run and frame.
5. Where Belt Damage Really Comes From: Fixed Points on the Equipment
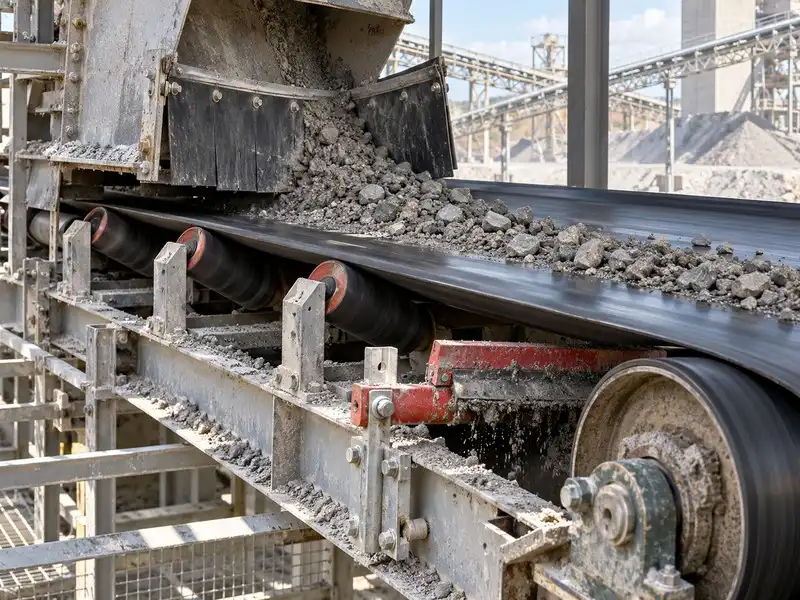
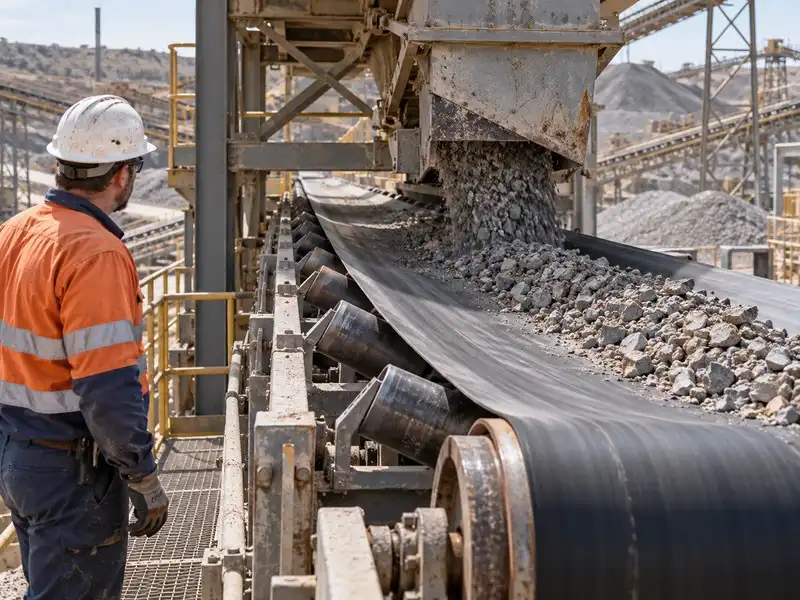
The same damage in the same place usually points to the same fixed point on the equipment. Read the position of the damage as a location clue before you read it as a belt defect.
| Fixed point on the equipment | How it damages the belt | What to do there instead of replacing the belt |
|---|---|---|
| Loading point and chute | Impact and off-centre loading; material crushes or wears one side of the top cover | Correct chute alignment and material placement; review impact support and cover grade |
| Discharge point and pulleys | Build-up and abnormal wear where the belt bends under load | Clean and inspect the pulley, check lagging and scraper clearance |
| Belt cleaner and scraper | Scoring and splice damage where the blade loads or passes wrongly | Set blade pressure and position; replace worn blades |
| Idlers | Seized or dragging rolls that cut a local mark and cause mistracking | Restore rotation, replace the idler, check spacing and alignment |
| Pulleys and lagging | Slippage and heat from worn or contaminated lagging | Restore or replace lagging before adding tension |
| Take-up | Uneven tension across the width, which shows up as edge or splice damage | Set and record tension; check travel against the limit |
Read the position first, then the shape. Damage that repeats at the same place on every belt revolution points at one fixed point; damage that wanders, or that follows the material path, is telling you about the duty. The closer the damage sits to a fixed point – a chute edge, a scraper blade, a seized roll – the more likely that point is the cause. That is why the same belt specification can last years on one conveyor and far less on another.
These points produce damage that looks like a belt fault, and replacing the belt will not make it go away.
6. Rotating Parts: Lubrication, Seized Idlers and When to Replace
Bearing lubrication is the part that matters most here: idler rolls, plus the take-up and drive points that carry rotating load. How often each one needs attention follows the manufacturer’s recommendation and the operating environment: dust, heat, moisture and washdown all change the answer, so use the recommended interval as a starting point and adjust it from what you find.
Roller seizure is rarely sudden: a seized idler announces itself in several ways at once – it will not turn by hand, it becomes noisy, it runs warmer than its neighbours, and it usually leaves mistracking and a localised wear mark behind it.
| Symptom | What it usually means |
|---|---|
| Roll turns stiffly by hand, neighbours turn freely | Bearing is failing; the roll is on its way to seizing |
| Localised heat, noise and a repeating belt mark | The roll has already stopped turning and is abrading the belt |
| Mistracking that appears with the mark | The seized roll is steering the belt, not tension |
Replace on condition rather than age. A cheap idler that seizes can scar a whole belt that costs many times more than the roll.

7. Rubber Conveyor Belt Care: Cover Grades, Heat, Storage
Top cover grade is a selection decision, not a maintenance one. A higher grade is chosen for the duty: the material, its sharpness, the drop height, heat and belt speed. Covers graded to DIN-W, DIN-X and DIN-Y are matched to different duty levels, and the right grade is confirmed against your material and conditions. Maintenance protects what the grade allows; it cannot upgrade it.
Heat needs two habits: operate within the temperature range the maker specifies, and let the belt cool before it stops under load, because hot material sitting on a stationary belt shortens cover life. Even a heat-resistant conveyor belt is limited by its specified range.
For flame-resistant and antistatic belts, treat the cover surface as part of the protection: damage and heavy build-up affect how the belt performs. Re-check cover grades whenever the material or duty changes.
Storage and handling are part of care: keep belts away from ozone sources and direct sunlight, which cause ozone cracking, from oil and chemicals, and avoid leaving a belt rolled tight for long periods.

8. PVC and PU Belt Care: Cleaning, Chemicals and Food-Line Checks
Which cleaning agents you may use is decided when you select the belt, not after it is installed. Compatibility depends on the agent’s chemistry – concentration, temperature, contact time – and on the belt material, so confirm it with the supplier against your actual cleaning routine and record the approved agents per line.
For PVC and PU belts, cleaning belongs in a fixed daily sequence, not in whoever has time. If the cleaning agent changes, check before switching: testing a belt already in service is no substitute for that selection decision.
Never open a splice to clean a belt. This applies to every belt, not only PVC or PU, and especially to a vulcanized splice: the joint is permanent, so cleaning and hygiene inspection are done with it in place. A splice is opened only when it is damaged.
Check the accessory wear points too: cleats, sidewalls and guide strips wear faster than the belt surface and often drive the replacement decision.
If your line has hygiene requirements, a food grade PVC conveyor belt is normally specified for product-contact surfaces, and antistatic belting where static build-up is the risk. Both change the inspection routine, so state that requirement when you ask.

9. Repair or Replace – and What Downtime Actually Costs
Five questions decide the answer, and each one is judged against the manufacturer’s specification or your own record.
| Decision question | Judge it against | Repair looks reasonable when |
|---|---|---|
| How much top cover is left? | Original specification and your thickness record | Remaining cover still protects the carcass, and the loss rate is stable |
| Has edge damage reached the carcass? | Visual check plus the belt specification | Damage is confined to edge rubber and has not reached the fabric or cord |
| How many times has this splice been repaired? | Your splice history | One clean re-splice is available and the external cause is corrected |
| Is the carcass exposed anywhere? | Visual check | Not applicable – an exposed carcass means replacement, not repair |
| Is this line on a planned replacement cycle? | Your own replacement plan and the cost of an unplanned stop | Not applicable – if the cycle is what keeps the line running, the cycle decides |
One caution on thickness: on a belt in service most wear sits in the centre of the top cover, under the material path, while the measurement is usually taken near the edge. The cover is therefore thinner than the edge reading suggests, so measure at the same positions and read the trend.
Downtime usually tips the decision. Estimate it as: output lost per hour multiplied by unit margin, plus labour, plus the risk of a missed delivery. The numbers below are illustrative only and are not a calculation you should reuse.
| Cost element | Illustrative example only |
|---|---|
| Lost output during the stop | Hours stopped x units per hour x margin per unit |
| Labour and spares | Technician hours plus the parts used |
| Delivery risk | Contract penalties or lost orders if the outage runs long |
Some customers, especially large plants, do not wait for a belt to fail. They replace on a fixed cycle so the line never stops unexpectedly, even when the belt still looks usable. If that is your operation, treat the cycle as a valid rule – written down, costed and tied to a shutdown window.
Total cost of ownership is the same idea over years: purchase price, downtime loss, labour and parts, splicing and repair, and disposal. A cheaper belt with more stops is not the cheaper belt. Rubber and PVC are not ranked against each other either; the question is which one suits the duty.
10. Making It Stick: Records, Work Orders and Spare Planning
An inspection that is not recorded is a conversation, not maintenance. Keep these fields on the maintenance record: date and shift, the item checked, what you observed, how it compares with the last entry, the action taken, and the person responsible.
Then close the loop: find, assign, repair, verify, close. Without the verify and close steps, the same fault gets repaired three times a year and nobody notices the pattern, until preventive maintenance has quietly turned back into reactive work.
| Item | Reactive repair | Planned maintenance |
|---|---|---|
| Trigger | Belt fails or stops the line | Inspection entry or scheduled window |
| Cost pattern | Downtime, expedited freight, temporary purchasing premium | Standard prices, work planned into a shutdown |
| Spares | Bought after the failure, at whatever lead time is available | Held or ordered against the shutdown date |
| Records | Completed after the event | Compared with the previous entry |
Spare planning belongs on the same page as the inspection routine. Treat the lead time of a belt or splice kit as part of the downtime you are trying to avoid, and order against the shutdown date rather than the failure date. This also tells you what your technicians need: read a wear measurement against a specification, judge a splice, and adjust alignment and tensioning in the right order.

11. Conclusion
Conveyor belt maintenance pays off through rhythm rather than purchase price. Run the four-level routine, and set the interval from your own material, load and failure history. When something goes wrong, separate the belt from the fixed points on the equipment – loading point, cleaner, idlers, pulleys, take-up – because those points cause damage that looks like a belt fault. Judge repair against replacement on structure, splice history and exposure, remembering that top cover thickness measured at the edge overstates what remains in the centre. Where a planned cycle keeps a critical line running, cost it into the shutdown calendar.
If you are planning a replacement and the last belt failed abnormally, send us the damage photos, the belt construction and how it was running; we will assess the likely cause and recommend a specification. We are a manufacturer and do not offer inspection or maintenance services.

12. Frequently Asked Questions
12.1How do I set an inspection interval for a conveyor with no failure history?
Start on the weekly and monthly levels, log what you find, and compare the rate of change over the first few cycles. Your own wear rate sets the final interval – not another plant’s schedule. Once two or three cycles look stable, space the checks out or tighten them.
12.2How do I know whether a wear rate is normal?
You do not need a reference belt. Compare the same positions over time: steady loss in the material path is expected, while a step change after a new material, a chute modification or a belt change is the signal to investigate.
12.3We fitted a new belt and it wore out faster than the old one. What do we compare first?
Check the fixed points before you question the belt. A chute that now feeds off-centre, a seized idler or an over-tight cleaner will wear a new belt faster than the previous one, and the belt is the last variable to change.
12.4Can we compare belt performance between two lines?
Only if you compare the same measuring positions, comparable running hours and the same material. Without that discipline, the difference between two lines reflects duty rather than belt quality, and any conclusion drawn from it will mislead your purchasing decision.
12.5How soon can the belt run after a vulcanized splice is made?
Follow the splicing procedure and the cure schedule specified for that belt and ambient temperature, and keep material off the joint until it is fully cured. Starting too early is a common reason a new splice fails soon after installation.
12.6What should we send you with photos of an abnormally damaged belt?
Belt construction and cover grade, what you were conveying, how the belt was running, where the damage sits across the width, and how long the belt lasted. That is usually enough to narrow down the likely cause and suggest a specification for the replacement.
13. Your Printable Conveyor Belt Maintenance Checklist
Print this page and keep it next to the drive. Each line is one item: tick it when it is done, leave it blank if it is not, and add the date and your initials. A blank line therefore shows exactly which item is still outstanding. If you would rather run your own routine, adjust the items – the point is that the same questions get asked at the same rhythm.
13.1 Every shift (while running)
| Check this | Tick | Date | Initials |
|---|---|---|---|
| Belt tracks true, no drift to one side | |||
| No spillage at the loading point or along the run | |||
| No unusual noise | |||
| No splice bump at the pulleys | |||
| No smell or unusual heat | |||
| No new vibration |
13.2 Weekly
| Check this | Tick | Date | Initials |
|---|---|---|---|
| Belt cleaner and scraper condition | |||
| Every idler still turning | |||
| Take-up travel not close to its limit | |||
| Lubrication points topped up | |||
| Visible cover wear checked | |||
| Splice appearance checked |
13.3 Monthly
| Check this | Tick | Date | Initials |
|---|---|---|---|
| Top cover thickness at the recorded centre position | |||
| Top cover thickness at the recorded edge positions | |||
| Edge damage checked | |||
| Carryback removed from pulleys and idlers | |||
| Cleaner replacement assessed | |||
| Spare parts consumption reconciled | |||
| Record compared with the last entry |
13.2 Weekly
| Check this | Tick | Date | Initials |
|---|---|---|---|
| Belt cleaner and scraper condition | |||
| Every idler still turning | |||
| Take-up travel not close to its limit | |||
| Lubrication points topped up | |||
| Visible cover wear checked | |||
| Splice appearance checked |